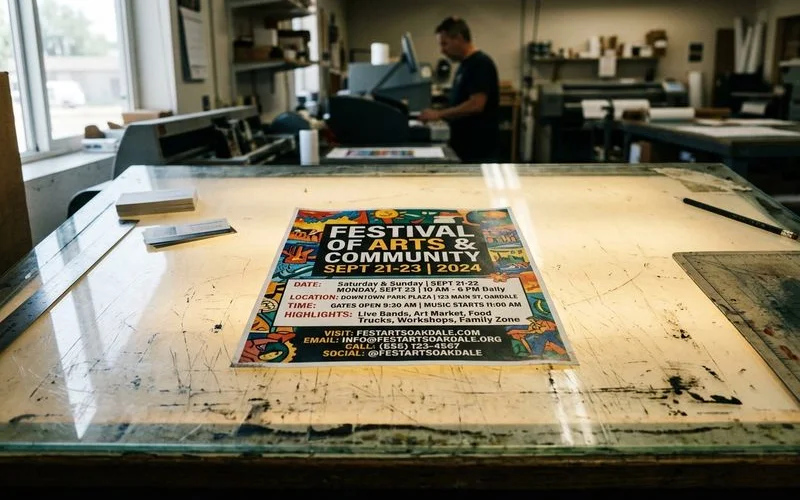
Event Flyer Printing Checklist: What to Include Before You Print
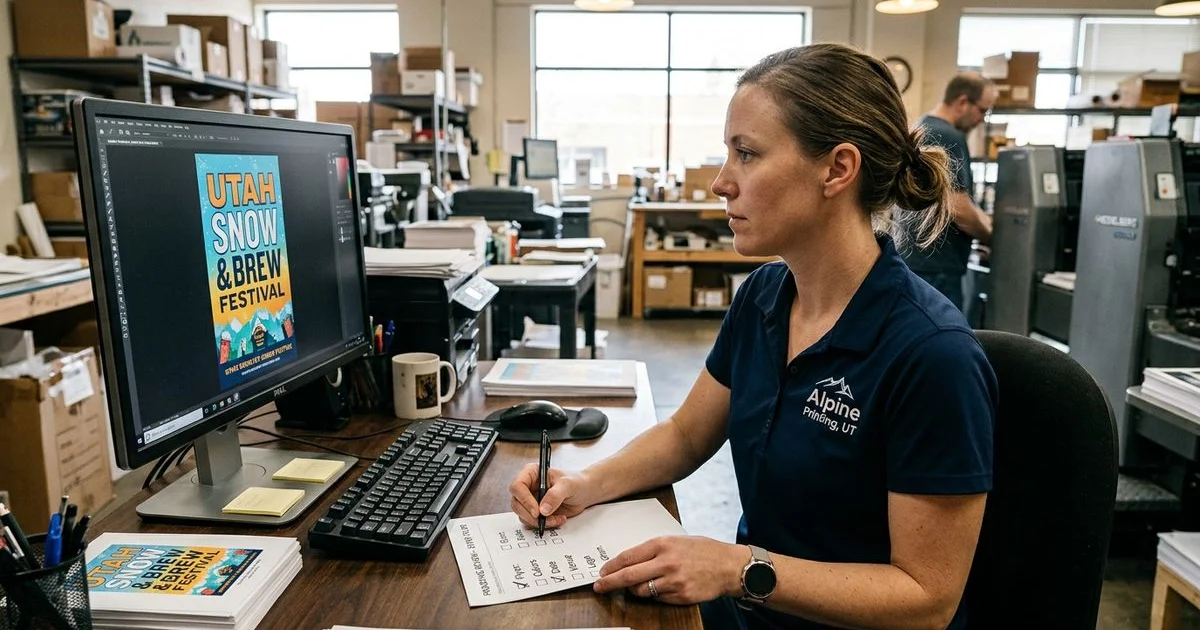
We created this Event Flyer Printing Checklist: What to Include Before You Print because catching a typo after opening a fresh box of flyers is incredibly frustrating.
That minor oversight suddenly turns a powerful marketing tool into an expensive paperweight.
Small missing details almost always derail the biggest designs.
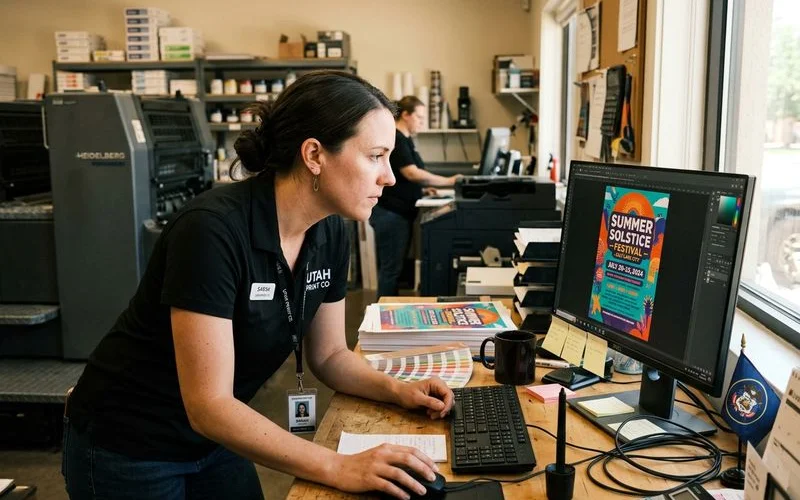
Our professional service team has printed thousands of campaigns to help local organizers succeed.
According to a 2026 Eventbrite Social Study, 79 percent of US consumers plan to attend more local events this year.
Getting those eager attendees through your doors requires absolute clarity on your printed materials.
Our structured review process will guide you through the execution.
Let’s look at the essential content, break down the technical file requirements, and explore practical ways to guarantee a flawless run.
The Essential Event Flyer Printing Checklist: What to Include Before You Print
Every event needs to answer six basic questions.
We consider a design incomplete if any of these core details are missing or unclear.
1. Event Name and Headline
Give your gathering a clear name or headline.
Titles like “Annual Charity Gala” or “Summer Youth Soccer Registration” tell the reader exactly what to expect.
We always recommend making the purpose obvious at a glance.
Readers will not figure out a vague title from context alone.
This instant clarity drives curiosity.
2. Identifying the Target Audience
Our team suggests matching your design and language to your specific crowd.
A kids’ music camp flyer needs a completely different tone than a chamber of commerce networking night.
The 2026 Eventbrite Social Study found that 89 percent of US attendees specifically want events that connect them to their local community.
We use localized phrasing to tap into that community desire and boost engagement.
Speaking directly to local homeowners or business owners makes the invitation feel personal.
Generic corporate messaging usually gets ignored.
3. Exact Date and Time Details
Our final review always includes verifying that the day of the week matches the calendar date.
Include the full date, such as “Saturday, June 14”, along with start and end times.
Multi-day events require a clear schedule of all dates.
We find that date mismatches are the most common and embarrassing print errors.
Double-checking the calendar prevents attendees from showing up on the wrong day.
A simple proofread saves hours of damage control.
4. Clear Venue Information
Our favorite trick for hard-to-find venues is adding a brief directional note like “Enter from Main Street parking lot.”
Provide the full physical address with the city and state.
A Wave Connect 2026 report projects that 102.6 million US consumers will scan a QR code this year.
We highly encourage adding a QR code that links directly to Google Maps.
This digital touch provides instant navigation for modern audiences.
Clear directions remove friction for first-time visitors.
5. The Call to Action
Our preferred strategy for driving action is using a dynamic QR code for ticket links.
Make your registration steps prominent and clear so people know exactly how to participate.
State clearly whether attendees should buy tickets at the door, call a phone number, or register online.
We recommend dynamic QR codes because you can update the destination URL anytime without reprinting the batch.
Including registration deadlines or ticket costs creates a helpful sense of urgency.
A strong call to action converts casual readers into committed guests.
6. Organizer Details
We place the organization name and logo clearly on the page to build immediate trust.
People want to know who is putting the gathering together, especially for new community initiatives.
Contact information lets interested people reach out with questions.
Our standard practice is to include a reliable phone number, email address, or website link.
Transparency shows that you run a professional operation.
This builds credibility with local residents.
Design and Readability Checklist
We know that content can be perfect while a flyer still fails due to poor visual organization.
Run through these technical design checks to ensure your message gets delivered clearly.
A messy layout instantly turns off potential attendees.
Visual Hierarchy and Fonts
Our designers ensure that the most important information, typically the event name and date, sits at the top of the visual hierarchy.
Supporting details like the address and description should follow, with fine print at the bottom.
The standard ADA print accessibility guidelines suggest using a minimum 12-point font for body text, rather than relying on tiny 8-point fonts.
We reserve decorative, hard-to-read fonts strictly for large headlines and short phrases.
Contrast between the text color and background color is equally critical for readability.
Dark text on a light background performs best in physical print.
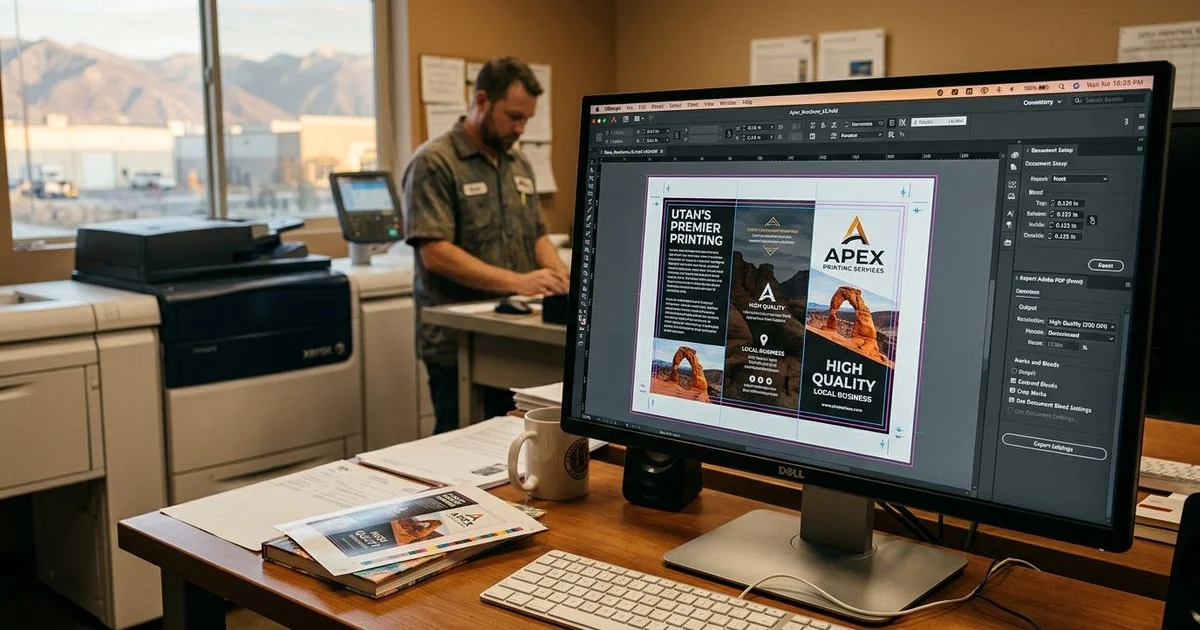
Safe Margins and High-Resolution Images
We pull all critical content at least 0.25 inches inward from the trim edge.
Any text or logo sitting too close to the border risks being chopped off during the cutting process.
Photos and graphics must be exported at 300 DPI for the final print size. For more detail, see our guide on preparing print-ready files.
Our production staff frequently catches low-quality 72 DPI images pulled directly from Facebook or Instagram.
Those web-resolution photos look great on a smartphone but print as a blurry, pixelated mess.
High-resolution source files are mandatory for a crisp finish.
Logo Quality and Color Accuracy
We suggest using a vector version of your logo, such as an EPS, SVG, or AI file.
If you only have a raster logo like a JPG or PNG, verify that it does not look pixelated when zoomed in.
Commercial printers use the CMYK color model rather than the RGB colors seen on digital screens.
Our pre-press routine always involves converting specific brand colors to their correct CMYK values.
A bright neon blue on your monitor will print as a muddy dark blue if left in RGB format.
Requesting a physical proof before the full run guarantees the colors match your expectations.
File Prep Checklist
Our team sees amazing designs trigger massive production delays because the file was prepared incorrectly.
The preferred format for most print shops is a high-quality PDF.
The US commercial printing standard is the PDF/X-1a:2001 format.
We export using this specific standard because it automatically embeds fonts and flattens transparent layers.
Never choose the “smallest file size” option during export.
That setting compresses images and ruins print quality.
Bleeds, Fonts, and Document Sizing
We require a standard 0.125-inch bleed on all sides if your background color or image reaches the edge of the page.
Without this extra margin, the final cut might leave awkward white borders around your artwork.
If you use custom typography, you must embed or outline all fonts before exporting.
Our computers will substitute a completely different default font if your custom files are missing from the PDF.
Check that your document dimensions match your intended order perfectly.
A file built at 4x6 proportions will look distorted and wrong if you try to stretch it to an 8.5x11 sheet.
We always advise hiding or deleting any template guide layers before generating the final PDF.
Leaving comment layers active might result in unwanted lines printing directly over your artwork.
A clean file structure prevents expensive mistakes.
The Final Proofread
We recommend having a completely different person read the text before sending it to the printer.
A fresh pair of eyes catches the tiny errors you have stopped seeing after staring at the screen for hours.
Software like Grammarly is helpful for basic spelling, but it will not flag a technically correct word used in the wrong context.
Our proofreading process involves reading the copy backward to force the brain to look at individual words.
Check the exact spelling of the event name, venue name, and organization.
Dial all phone numbers yourself to confirm they ring the correct line.
Testing the Physical Output
We always test website URLs in a live browser to ensure the page actually loads.
Confirm that no words are accidentally doubled and that all pricing tiers are accurate.
A typo on the admission price creates an immediate customer service nightmare at the door.
Our top insider tip is to print a draft on your home or office laser printer at 100 percent scale.
Holding a physical copy reveals hidden spacing issues and font readability problems.
Screens emit light and make text appear much larger than it actually prints.
How Many Copies Do You Need?
We want you to think through your exact distribution plan before ordering a specific quantity.
Consider how many locations you will visit and whether you will hand them directly to individuals or leave stacks at local businesses.
The average US direct mail response rate ranges between 1 and 5 percent.
We use this statistic to help clients work backward from their attendance goals.
If you want 50 new customers, you might need to distribute at least 1,000 pieces.
Having a buffer of fifty extra copies is far less painful than running out early.
Planning Your Distribution
Our team often recommends USPS Every Door Direct Mail campaigns for local area saturation.
EDDM Retail rules allow you to deliver up to 5,000 pieces per ZIP code per day without needing a mailing list.
The 6.25 by 9-inch postcard is the go-to US size for 2026 because it safely clears the postal service’s 6.125-inch minimum height requirement.
| Print Size | Best Used For |
|---|---|
| 4x6 Inches | Hand-to-hand distribution and small bulletin boards |
| 6.25x9 Inches | Standard EDDM mailers and mailbox inserts |
| 8.5x11 Inches | Store windows, poster displays, and detailed event schedules |
We hope this Event Flyer Printing Checklist: What to Include Before You Print helps maximize your return on investment.
The Flyers page includes common size and quantity options for your next project.
Feel free to request a quote with your specifics to get started today.
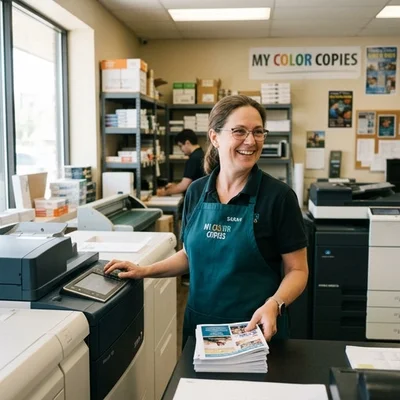
My Color Copies Team
Print Production Specialists
My Color Copies is a Utah-based print team serving both local and out-of-state customers with affordable, fast printing services.
Digital Printing ExpertiseNeed help with your print job?
We are here to help with file prep, paper choices, and pricing.
Request a Quote